.jpg)
Garden
Build Weather-Resistant Garden Features with a Material Made to Last
With MakeMake® ConcreteClay™, you can create personalized, weatherproof structures for your garden without needing professional construction experience. The material is simple to apply, retains fine detail, and cures into a strong, frost-resistant surface ideal for outdoor conditions.
Home creators use ConcreteClay™ to make planters, stepping stones, decorative sculptures, water-feature elements, and unique landscaping details. Our easy-to-follow guides show you how to shape foam cores, use silicone molds, reinforce larger pieces, and paint your finished designs with a durable concrete paint mixture (Colour Pigments + Colour Fix™) that seals and protects.
Whether your garden style is natural, sculptural, or playful, ConcreteClay™ gives you the freedom to build pieces that last season after season.
No products found.
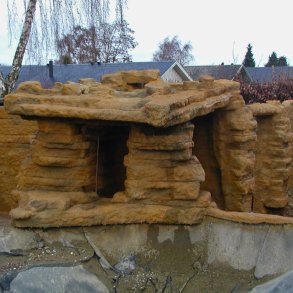
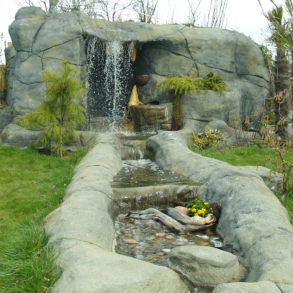
How to Construct a Garden Pond with ConcreteClay™
Building a custom garden pond allows you to create a unique water feature tailored to your garden’s landscape. By using ConcreteClay™, you gain complete control over the shape, depth, and aesthetic finish of your pond. This method enables you to model realistic rock edges and durable, natural-looking surfaces that blend seamlessly into the environment.
Essential Materials
To ensure a robust, professional-grade result, you will need:
- ConcreteClay™: As a rule of thumb, calculate for 18 kg of concrete per 0.9 m² at a thickness of 1 cm. For a pond, you should work in a layer of at least 1–2 cm to ensure durability and water resistance.
- Structural Support: Depending on your design, you may use polystyrene for rock formations or a solid base structure.
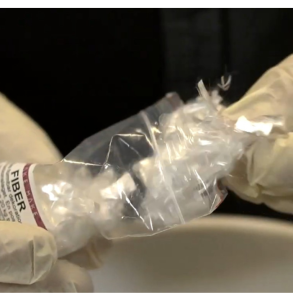
- Fibre: Added to the base layer of concrete to increase tensile strength and durability.
- Colour Fix™ & Pigments: Colour Fix™ is a diffusion-open, water-based binder that seals the concrete, provides a durable finish, and significantly reduces the impact of the concrete's pH on the water.
- Tooling: Rubber gloves, a bucket, a drill mixer, a mason’s trowel, sponges, and brushes for detailing.
Construction Process
1. Designing the Structure
Start by defining the shape and depth of your pond. If you are creating raised edges or integrated rock features, build the base structure using polystyrene or suitable reinforcement. Secure all elements firmly before proceeding.
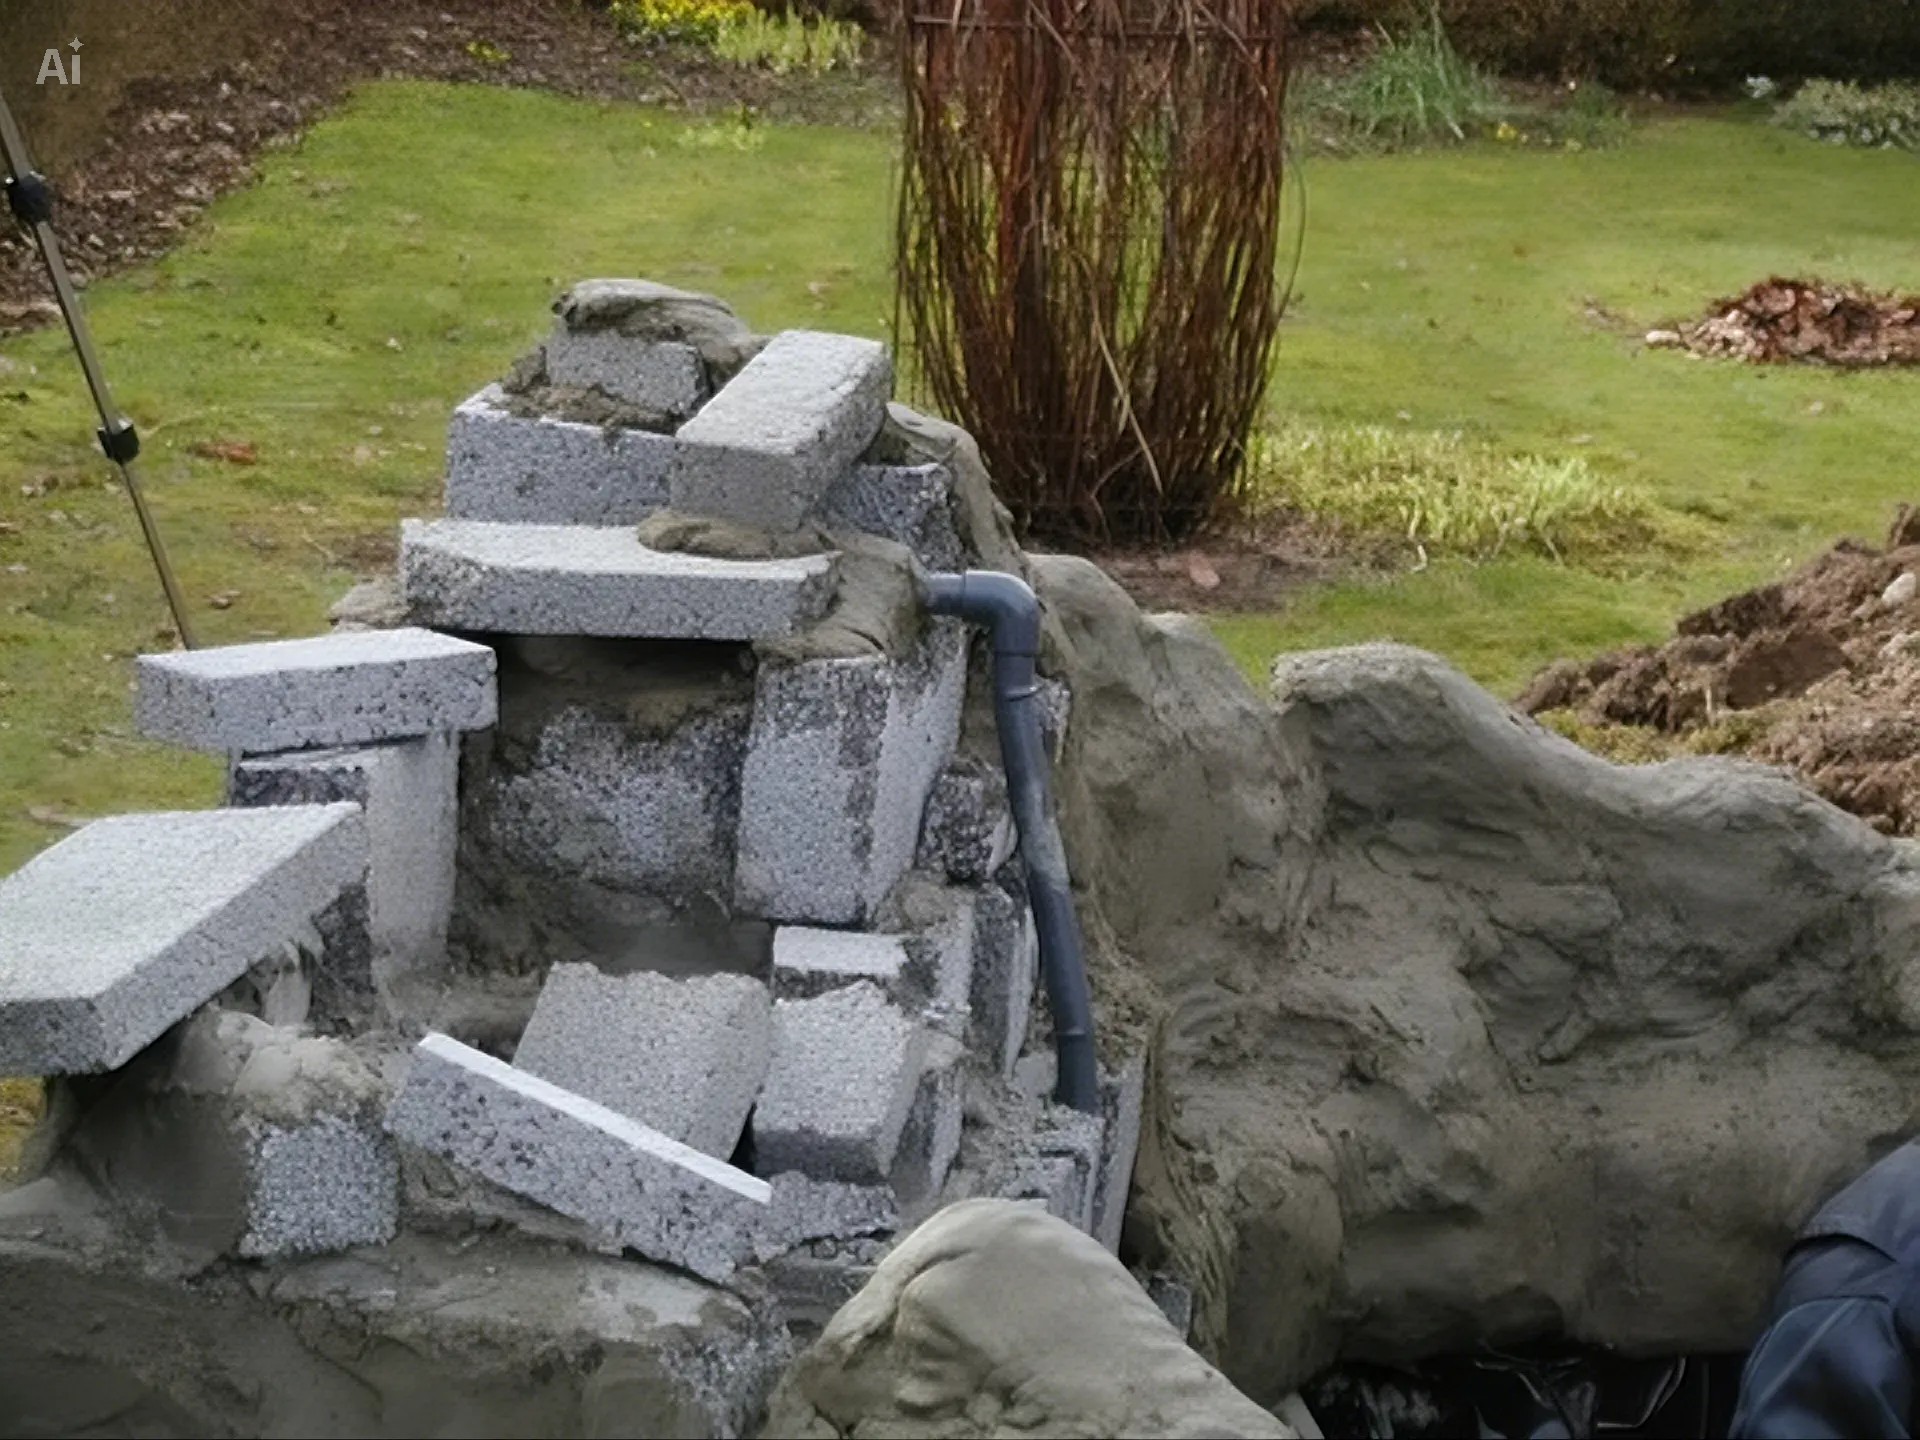
2. The Structural Layer
Mix ConcreteClay™ with water (approx. 1 litre of water per 5 kg of concrete) and incorporate the fibre into the mixture to enhance structural integrity.
- Application: Apply the concrete by hand in a firm 1–2 cm layer. Ensure the surface remains slightly rough; this provides an ideal "key" for the decorative layer to bond effectively.
- Curing: To prevent shrinkage cracks, keep the concrete moist by spraying it with water and covering it with plastic sheeting. Allow it to cure until the following day.
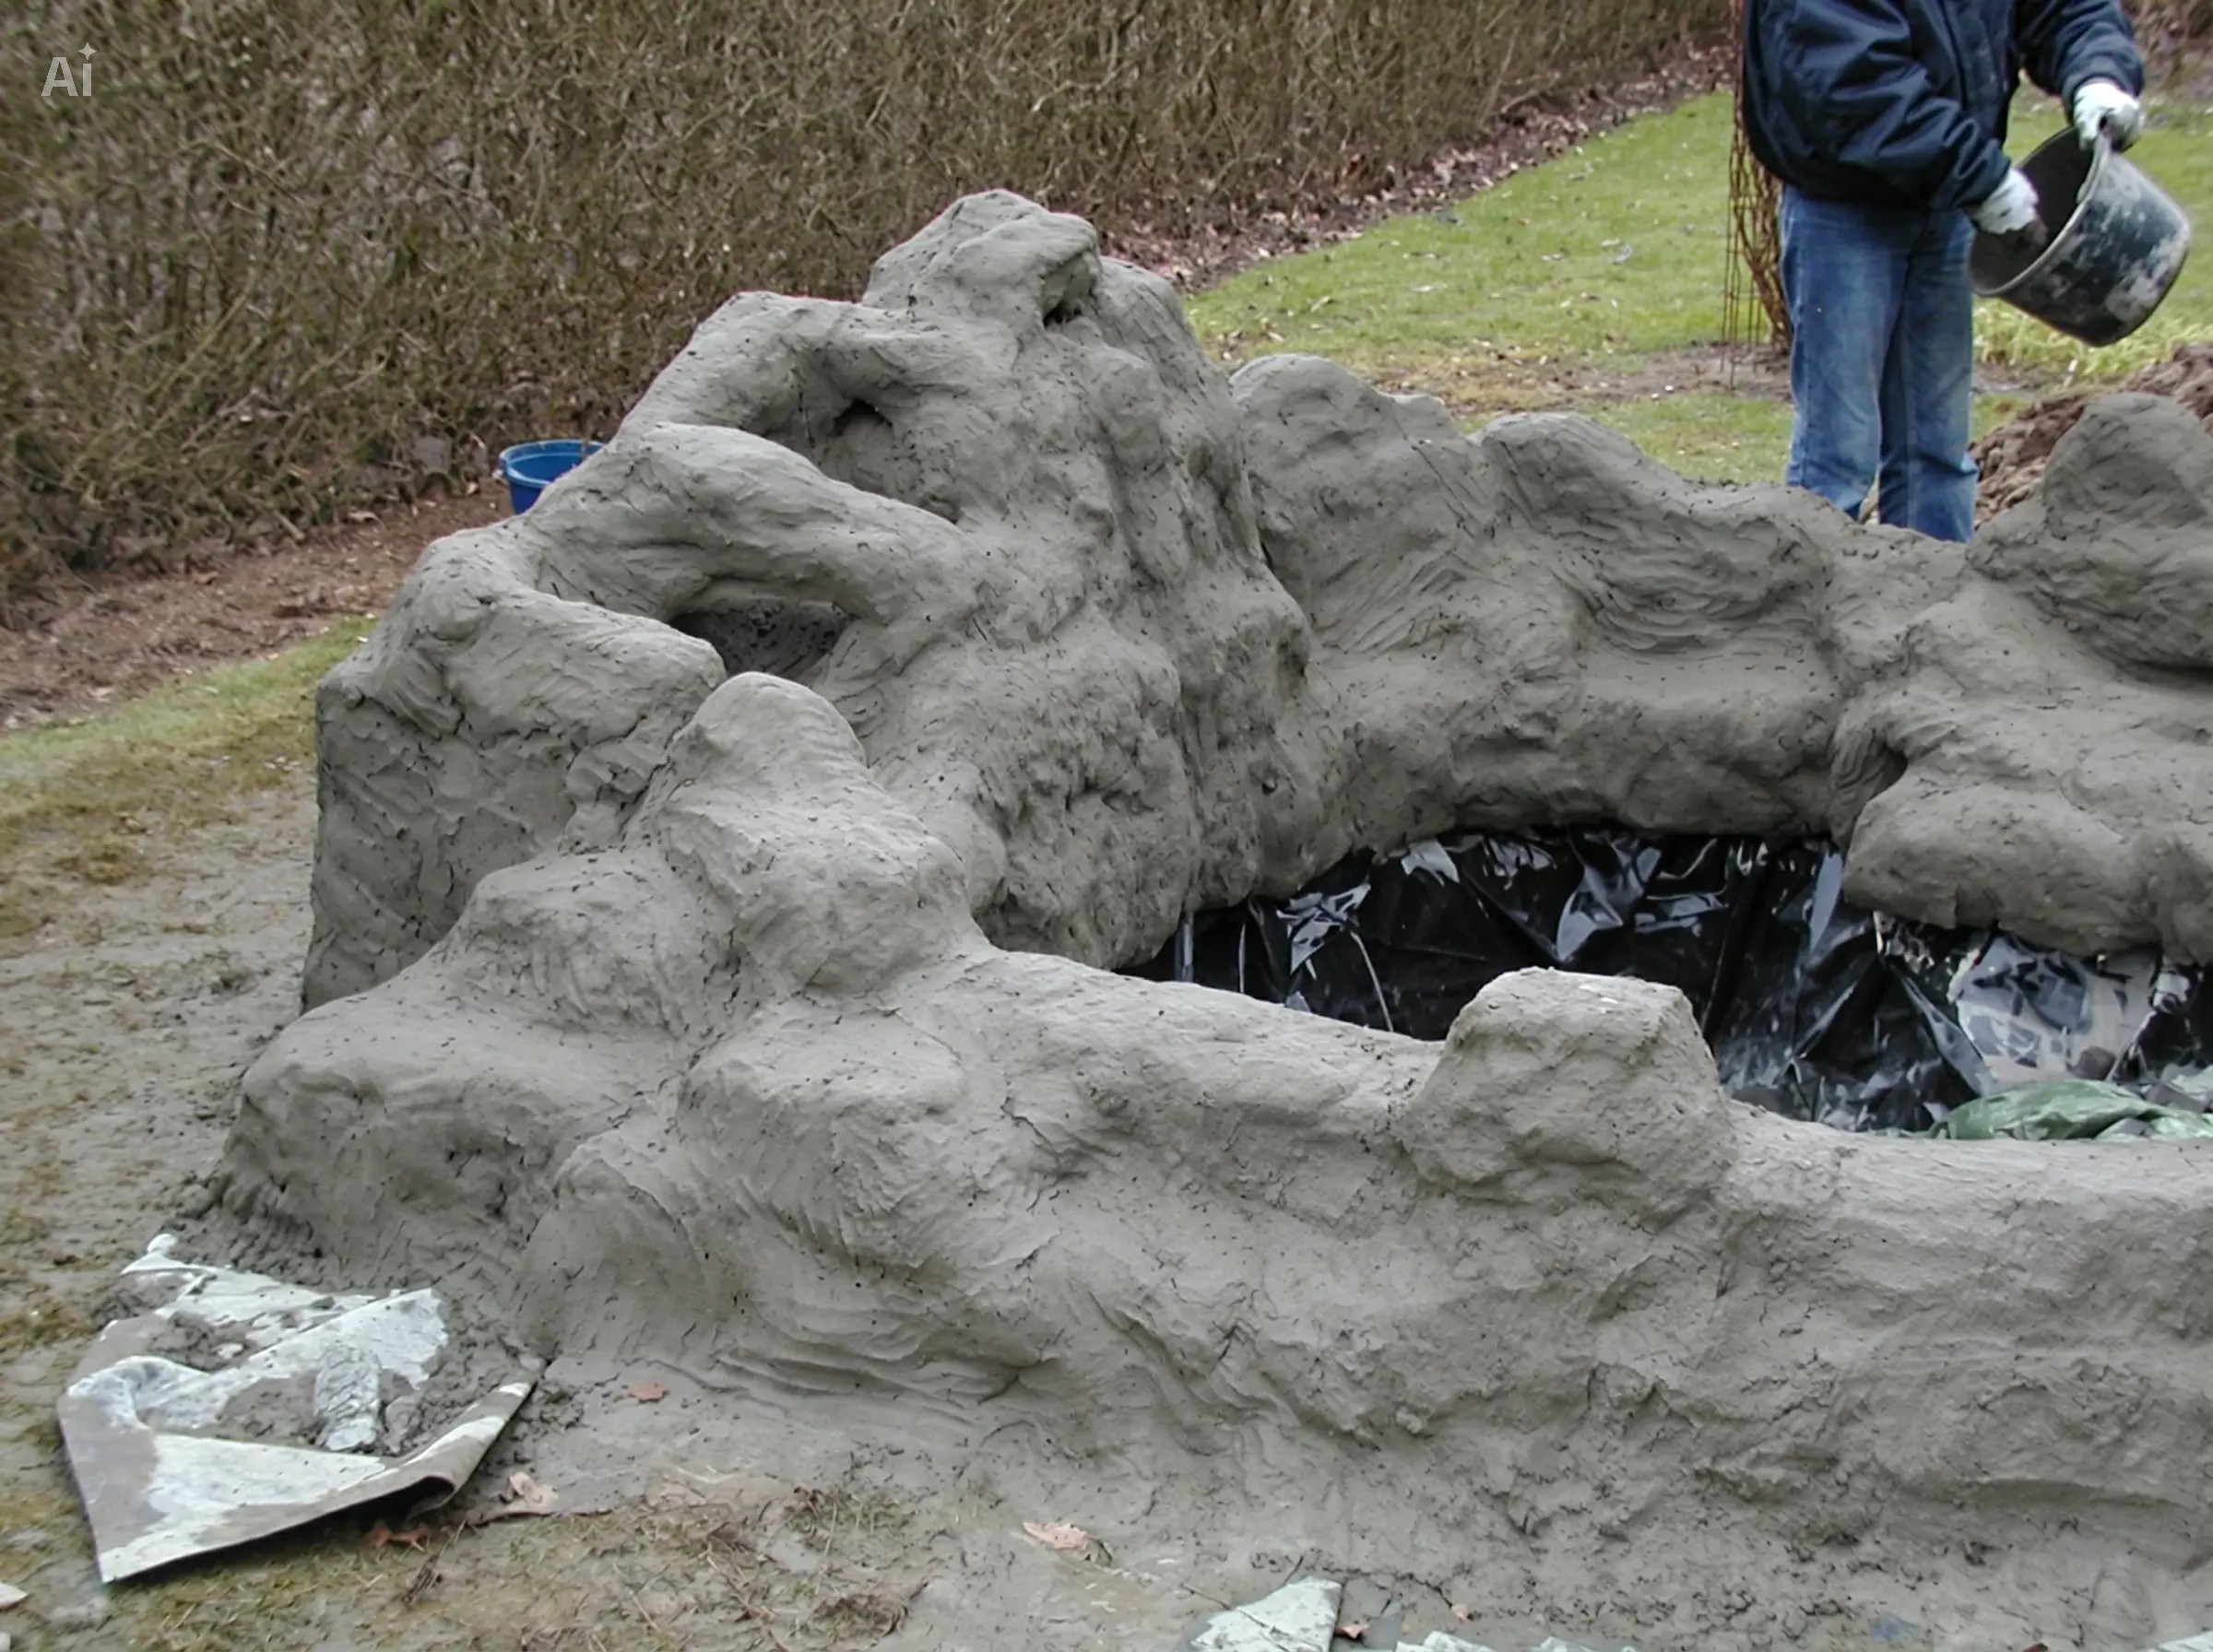
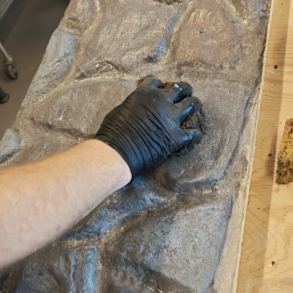
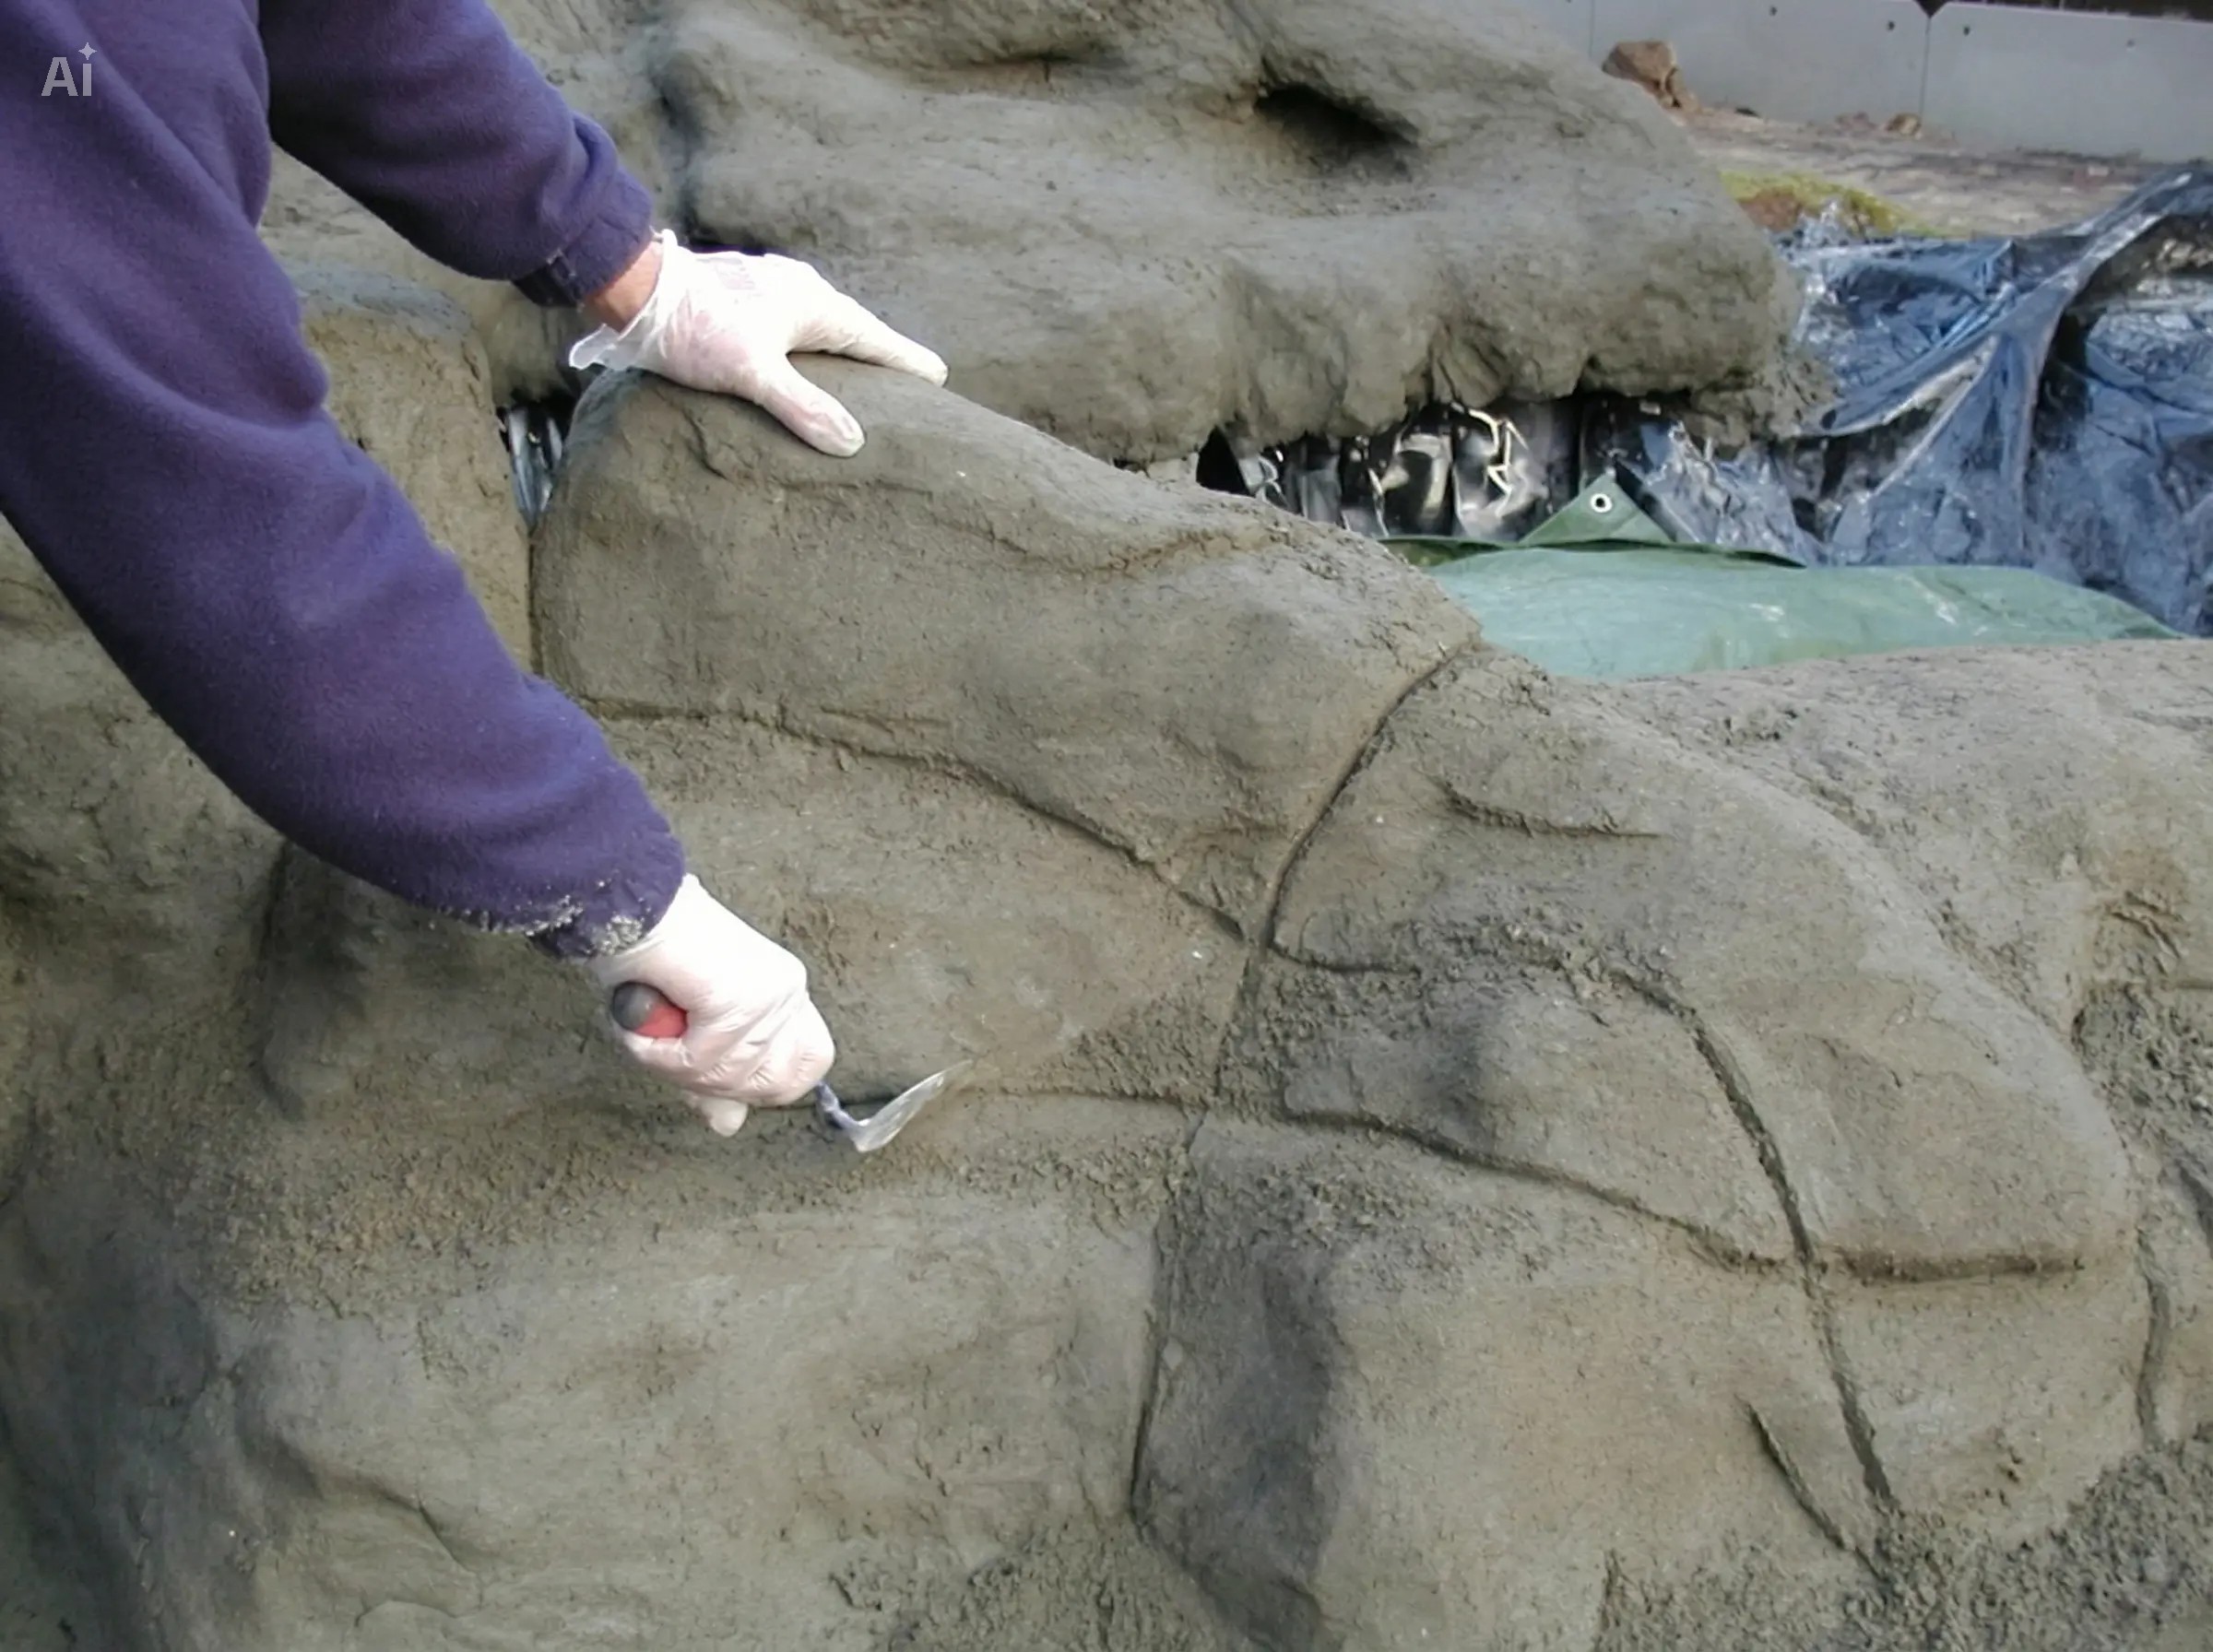
3. The Decorative Layer
Once the structural layer has cured, apply a secondary layer of ConcreteClay™ (without fibre) to refine the surface.
- Modelling: This is where you craft the finer details of your pond’s rockwork. While the concrete is fresh, use brushes or carving tools to sculpt textures, crevices, and stone-like features.
- Refining: Use a stiff brush or a damp sponge to remove fingerprints and unify the surface texture. Once you are satisfied with the look, allow the structure to cure thoroughly.
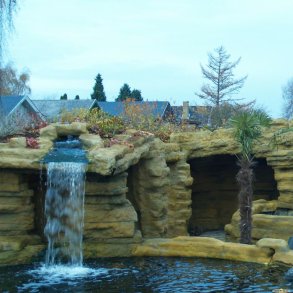
4. Sealing and Colouring
Proper sealing is critical for pond health and longevity.
- Base Coat: Mix black pigment with Colour Fix™. Apply this as a base coat to all surfaces, ensuring you reach deep into all crevices. Colour Fix™ acts as both a binder and a sealant, locking the pigment into the concrete surface to prevent peeling or flaking.
- Adding Depth: Using a sponge, dab lighter grey shades onto the elevated areas of the rockwork. By gradually reducing the coverage with each lighter shade, you create natural highlights and depth that mimic real stone.
- Curing: Allow the pond to dry at room temperature for several days before filling it with water.
.jpeg)
Professional Tips for Longevity
- pH Management: Because concrete can initially affect the pH balance of the water, it is essential to ensure the Colour Fix™ layer is applied thoroughly to all submerged surfaces.
- Customisation: You can easily integrate features like small waterfalls, plant pockets, or hiding places for aquatic life during the modelling phase.
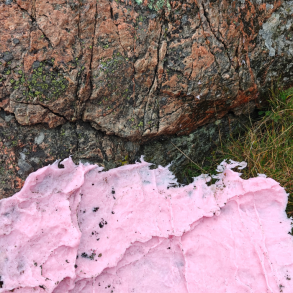
- Texture Realism: Study natural rock formations in your area and use them as a reference. The key to a professional finish is not just the shape, but the variation in texture and colour layering.
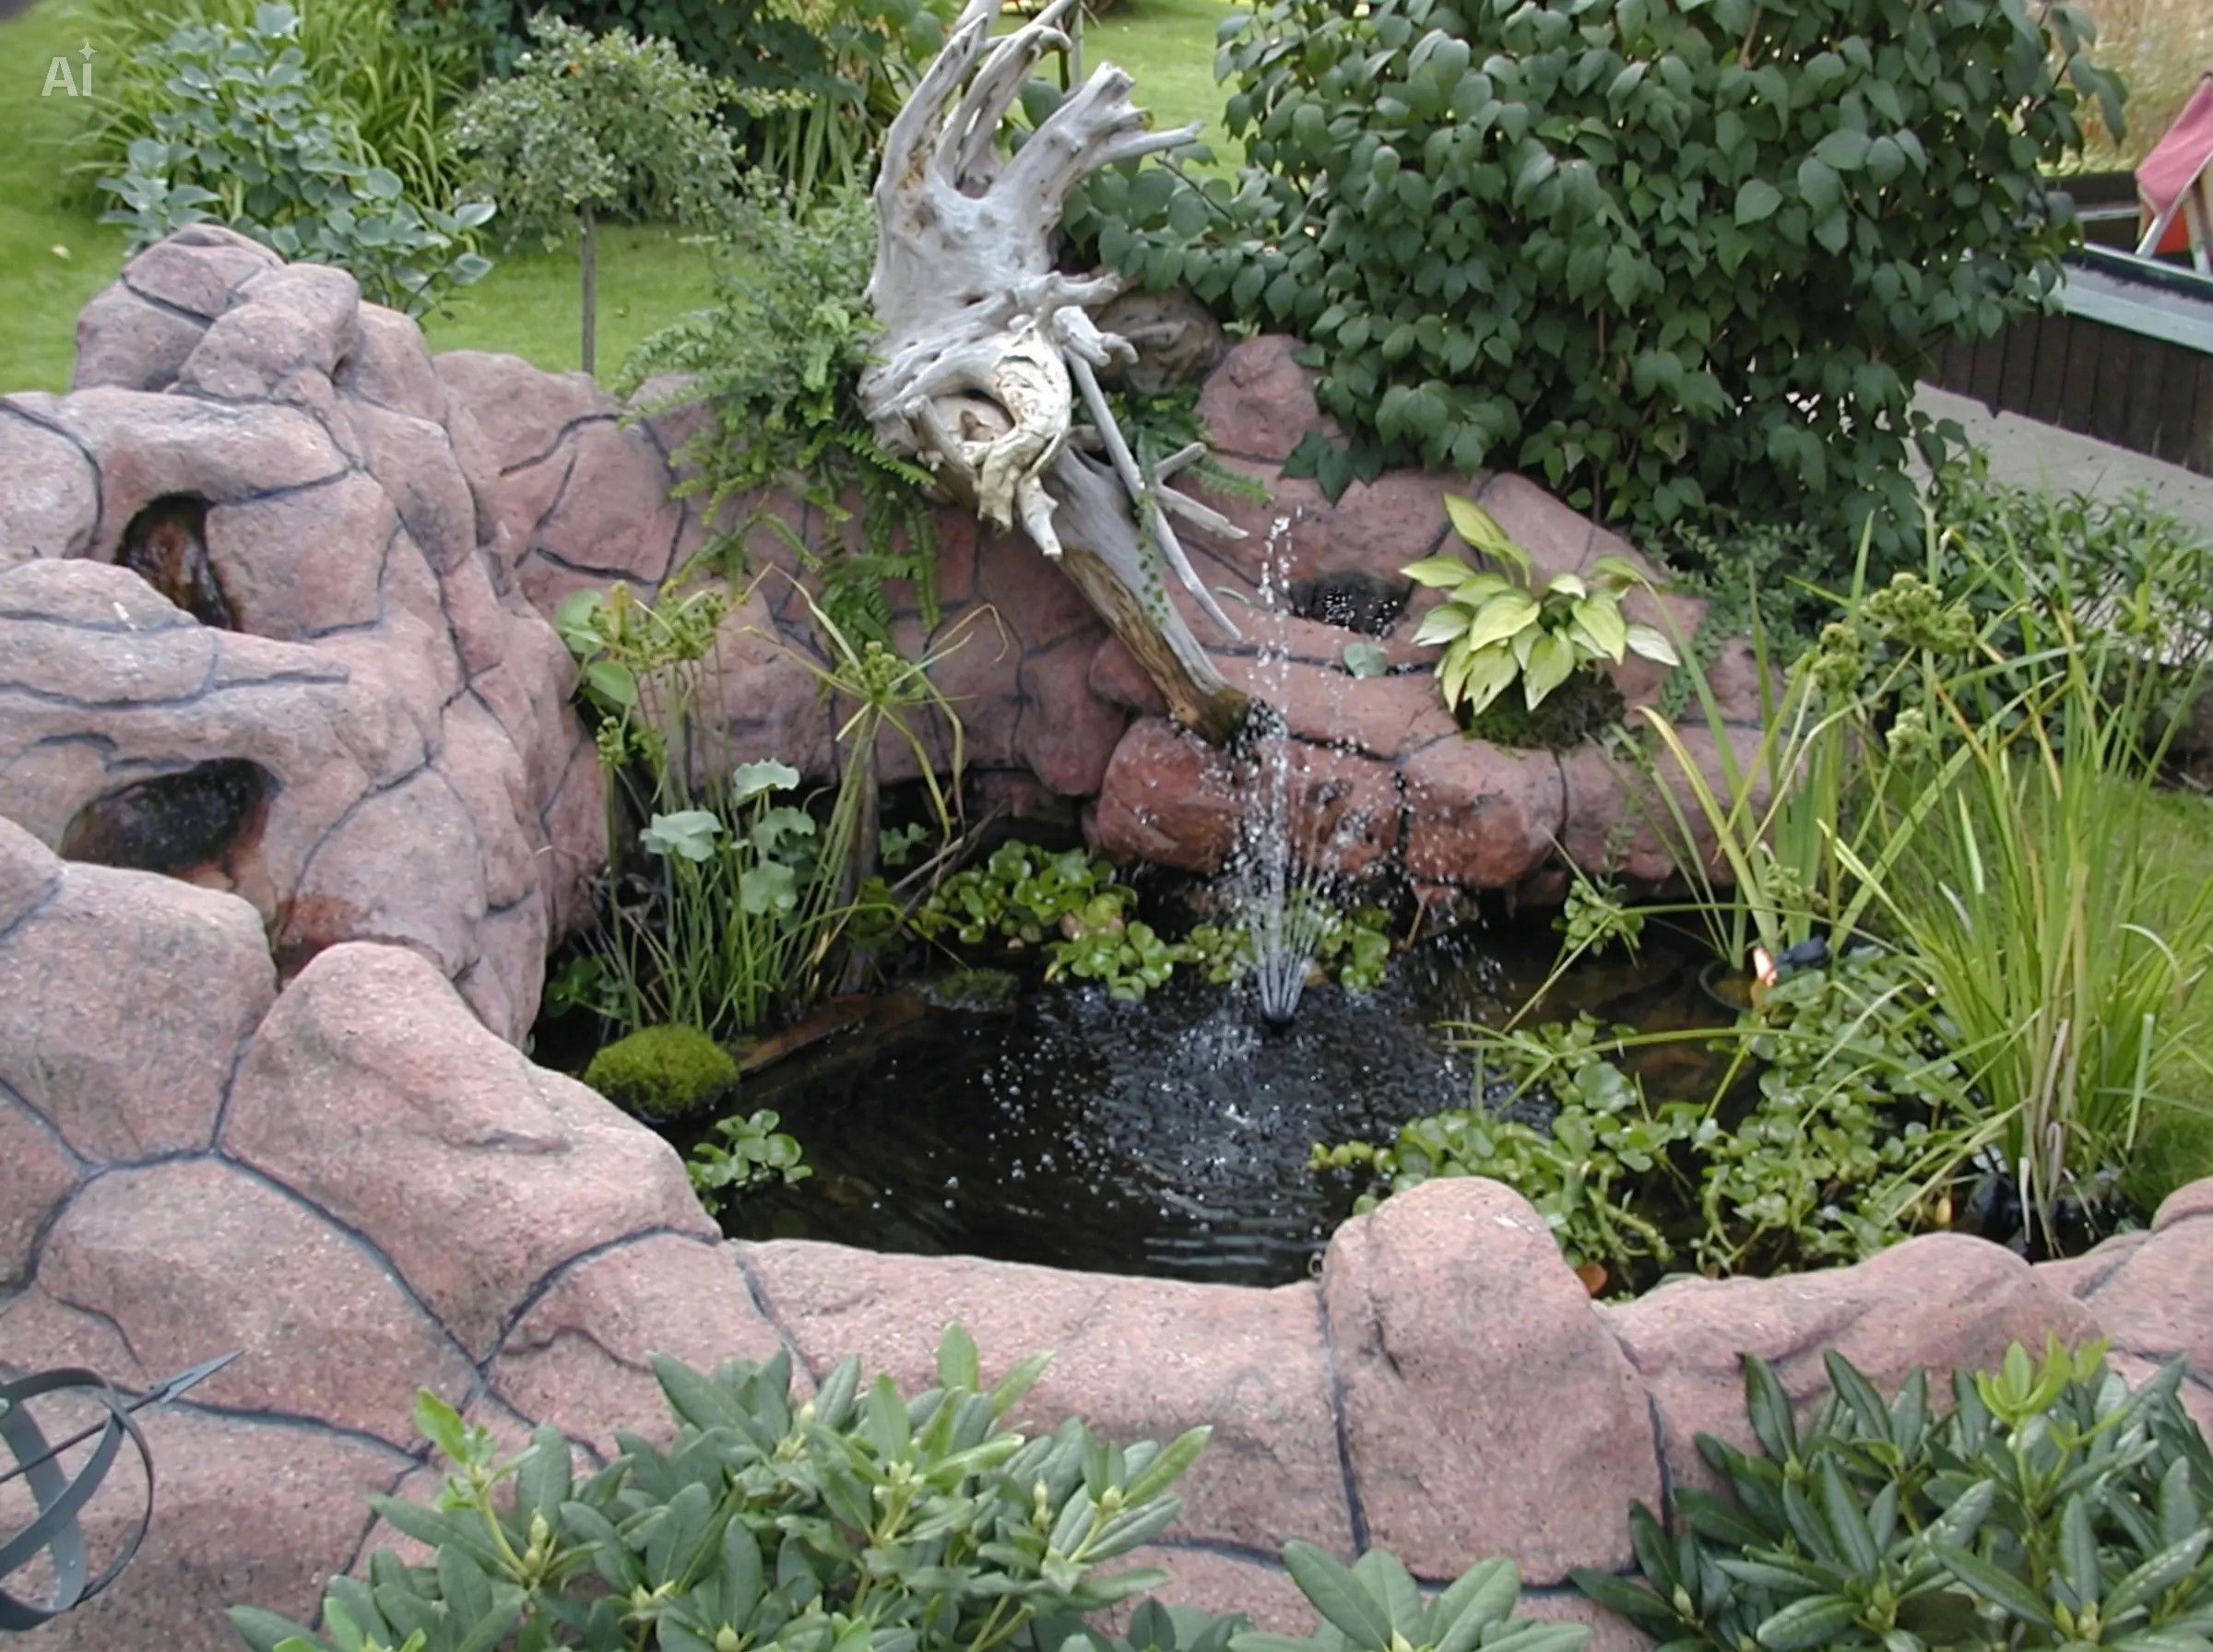
Building a pond with ConcreteClay™ is a rewarding project that transforms a standard garden into a living landscape. With careful preparation and the right materials, you can ensure your feature remains a beautiful, long-lasting focal point in your outdoor space.